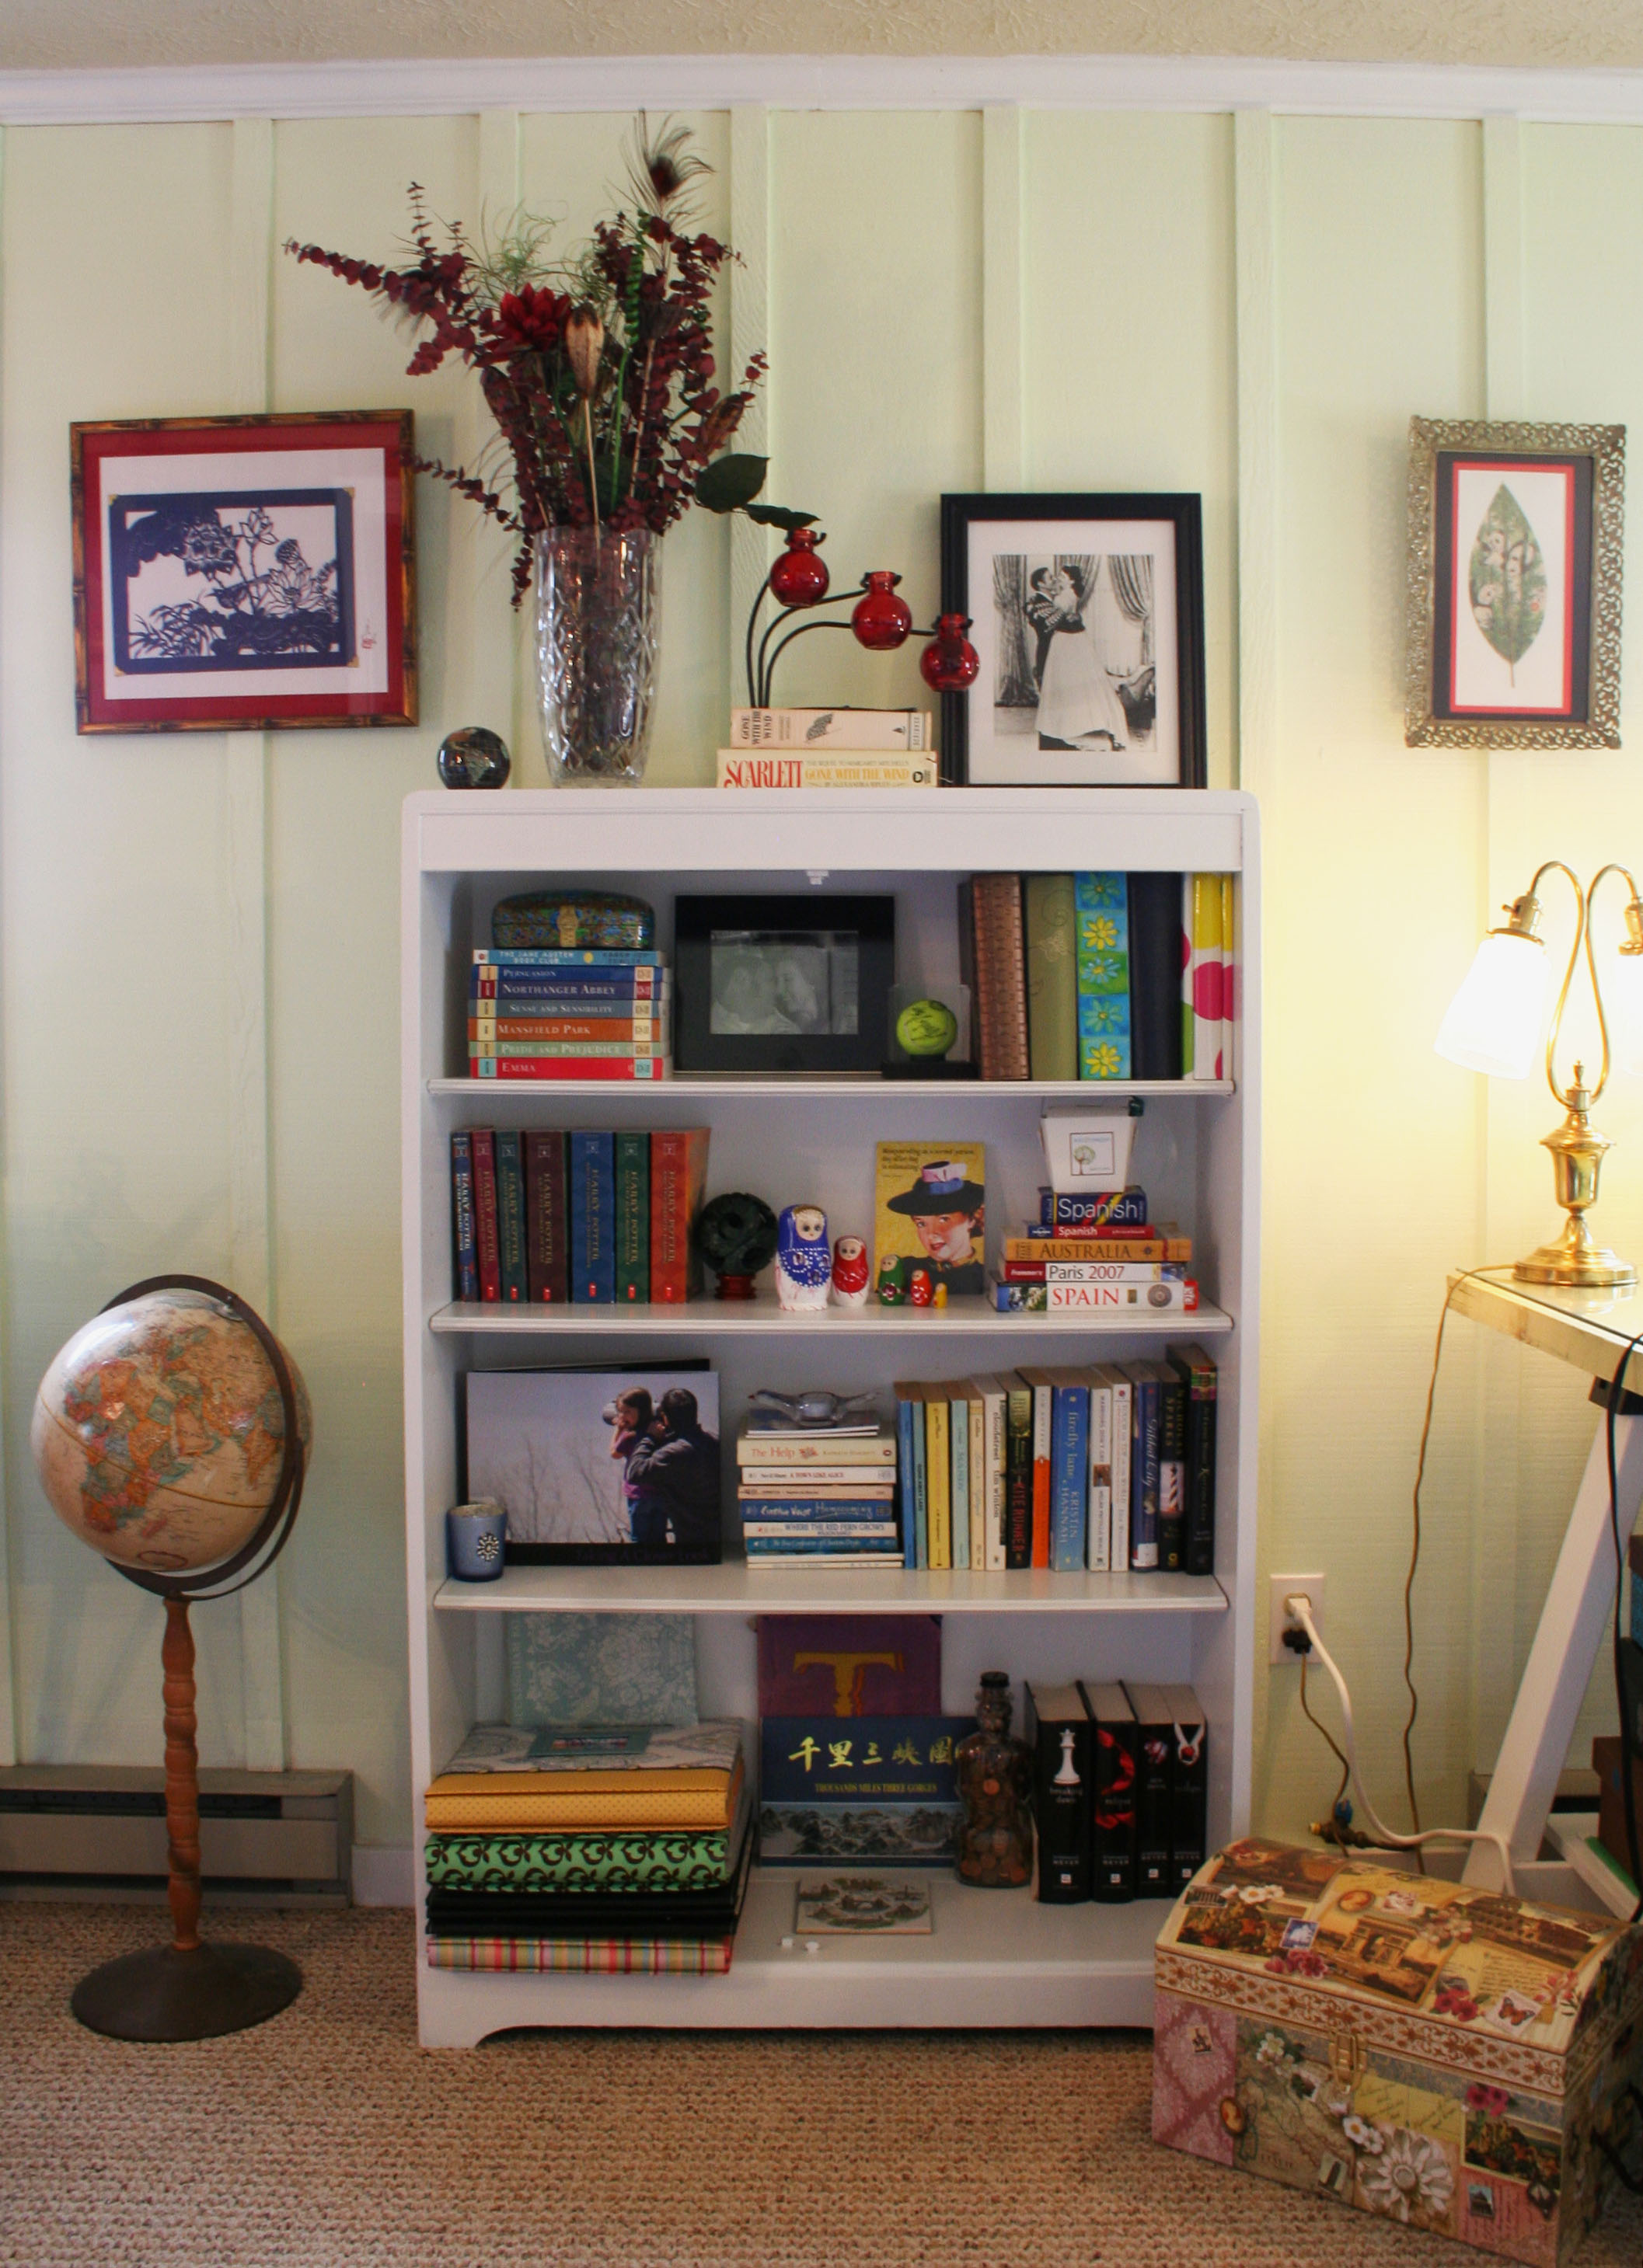
When you moved into your first place, did you have the luck of having relatives around who were more than ready to give me their hand-me-downs to furnish your first place? Well, Eric and I sure did. When his parents moved to Florida (but they are back now!) they couldn’t fit everything in the van and Eric ended up with some pieces of furniture (this was pre-Megan time). Then, when I was graduating college, both of my parents split outta Lynchburg (thanks, love you too) and left behind some furniture as well. Now this is where I have to try to be tactful – which I’m not always good at. Here we go… As much as I love my family and how extremely helpful hand-me-downs are (whew! They save a lot of money), sometimes they just aren’t your taste. I am also very conscious about bringing only things that I absolutely love into the house when I spend my own money on them, going by that rule that everything should be beautiful and/or functional. As my taste has evolved sometimes the hand-me-downs haven’t evolve with me (and sometimes the things that I have bought haven’t evolved with me either). Sometimes I can do things like painting a bookcase another color…
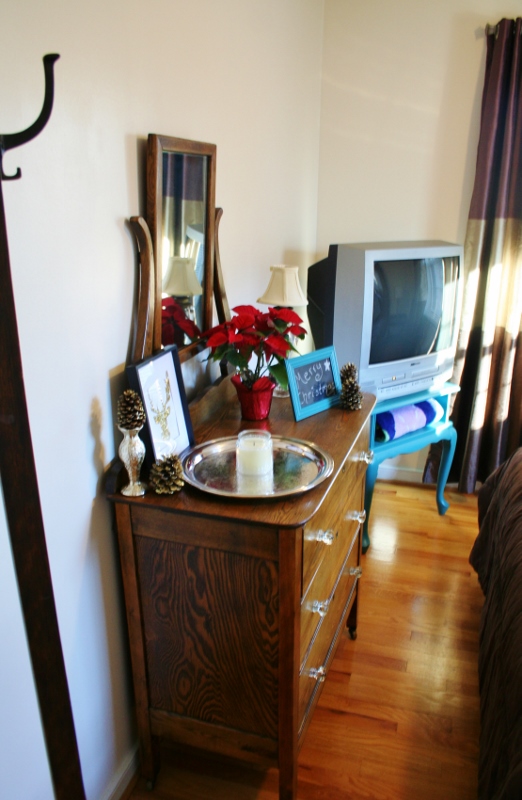
…sometimes the furniture is just beautiful and you love it like this beautiful antique dresser…
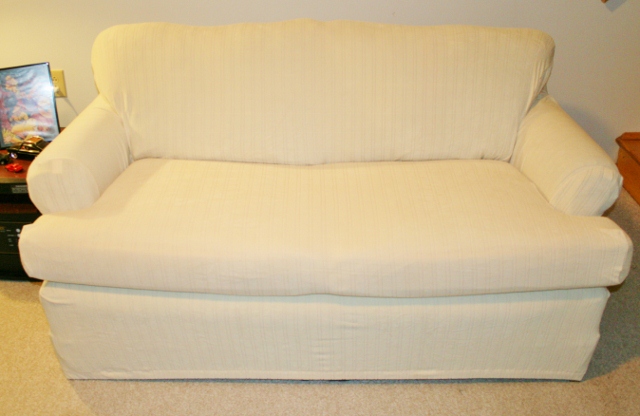
…then sometimes you try to make things work and it just gets worse (#slipcoverfail).
Then there are other times the furniture is incredibly beautiful and way to nice to every think of painting, but it just isn’t your style. Case in point, this dining room set of furniture from Eric’s parents (once again, may I emphasize I love you both and you are the most generous people I know?!).
They are beautiful, quality pieces, but unfortunately, it is a little more ornate and formal for Eric and my living style. We use the table for eating once or twice a year and for piling up stuff and doing projects the rest of the year. However, it does fit the space perfectly, and we don’t want to sell it because well, it’s too nice and it’s from Eric’s parents. It just doesn’t seem right for us to do. So this is the one space in our house that I am trying to make it work in, instead of listening to the house and letting us tell us how to use the space (this would tell us, “Hey, I’m unused space here! You probably need to make this another living room space or a place for more pretty organization or a place for Eric’s car stuff!”). But sorry pretty furniture, we are ignoring your voice and instead trying to sculpt it into something else. Spoiler alert: It’s working. I am really starting to love this furniture!
My plan: paper and fabric. I couldn’t change anything structural or paint a surface on either of these pieces. They were too valuable. Instead, I thought I could get creative to make them look a little bit more like ”us” and fit into our comfy living style. Step one you saw in my five minute tablecloth post where I spruced up the table up in this super trendy chevron tablecloth. Although I did change it at Christmas with a white one that may come out and play later throughout the year.
Next up was to tackle the china cabinet. I. am. Not. A. China. Girl. If I don’t use the plates, they aren’t necessary to me. I don’t like to have things laying around that I don’t use frequently (except Christmas decorations, as well all know). We also don’t have big dinner parties; more like big cookouts where paper plates sometimes make an appearance (otherwise I keep it green – sorry Earth!). So there is no beautiful china that needs to be displayed in the Rapp household. So my formula for sprucing this up was to put up a background and to display items more in the avenue of bookcase styling: pretty and decorative things plus some books. Because those things make me happy and we have a plethora of around the house. This is where I started.
Step number one was to zero in on my backing. I decided to find a pretty wrapping paper. While at World Market I found the perfect paper that was actually a fabric/paper combo. I loved the color mix for the room (hello teal and gold with a surprise element of pink). It was actually a floral I liked (AH!), and I thought it had a slight modern Asian vibe, which is kind of cool since I actually have quite a bit of Asian decorative items in the room already.
To make sure that I didn’t hurt the china cabinet, I decided to cut foam board to the size of the back of the cabinet. This way I could just pop it in the back, all snug-like so it didn’t fall. This would also allow me to change the backing rather easily when I get tired of one pattern. Instead of having to remeasure and tape it up, all I have to do is fit it on the foam and call it a day. It definitely took some math skills and some trial and error to cut the foam board to shape, but it worked. It took four foam board pieces, two for the top and two for the bottom.
Now it was time to attach the paper. I found the easiest way was to wrap the foam board like a present. Although I did put some pieces of tape sporadically under the paper in the front as well, just for extra security and to avoid bubbling of the paper. But if you pull the paper taunt enough, you probably don’t even need that.
The hardest part was to put the two foam board pieces together, since I needed two rolls of paper for the top and two rolls for the bottom. What I did was leave one piece with some extra paper on the end where the two would meet and then tuck the other foam board into the paper lip. Yes, you can see a seam but at least there is no gap between the two foam board pieces. I tried to get the seam where the cabinet doors closed, so it was less visible.
Then it was time to stage it, by far my favorite part! I first gathered up all the items I thought would work in there. This included some décor and coffee table books, gold and brass items, and some other odds and ends. Then I just got to placing, putting some objects in and closing the door to see how they looked. It definitely took some playing, since objects looked very different once the doors were closed (too low, too high, too plain, etc.). I ended up using the books as elevators on the bottom, so you could see the decorative items. Although I had a brain flash as I was falling asleep last night: I should use magazines I want to keep but continuously pile up. I will probably want to use the books more frequently than older magazines, which would result in me having to move the items around. So that change may happen. Right now, I am digging the way some of my new Christmas present design books look in there.
Let’s dive in past the glass and its super-glare, to check out some of the items. First up, an antique gold-rimmed glass with a sparkly pine cone I made, a wooden bowl with a golden apple (it opens!), and some great books.
Now right here in the middle, are some sentimental items. Starting in the upper left is a thrift store brassy vase with some bedazzled flowers, a set of owl candlesticks that I bought 75% off at World Market when I got the paper, more décor books (of course), the unity sand that Eric and I poured as part of our wedding ceremony, and the spheres I showed you how to make earlier.
Now for the left side, some really fun items. On the top is a glittery gold candle and on the bottom, some great books and an adorable turtle that my friend Jen sent me as a thanks for getting her Young House Love book signed!
Here’s a cost breakdown of this super simple project:
- Wrapping paper (4 rolls): $16
- Foam boards (4): $4 (from the dollar store)
- Tape: On hand
- China Cabinet: A beautiful gift
- Total: $20
Price savings to buying new furniture to completely change the space? Hundreds of dollars!
And the result? I absolutely loooove the look! It brings a more traditional piece some contemporary and modern flair, in a way that is uniquely us. I find that I love to stare at the items in the China cabinet quite frequently. I love looking at them and the pretty paper gives me little butterflies of happiness in my stomach. I think this project in conjunction with the modern tablecloth really modernize these two pieces and make them feel more included in the total vibe of our house. So before you go selling good, quality furniture, I encourage you to take a second look and try to figure out a way to make it feel more “you”! It all goes back to using what you have!


I LOVE the paper that you used in the china cabinet! We weren’t so lucky to have hand me downs since no family lived around us. I wish we would have though because instead I just wanted to buy everything brand new (and thought I needed all new things) which was such a waste of money!! Lesson learned!
Thanks Crystal! Yes, it is pretty lucky when people will give you things they are done with…but don’t forget about Craigslist! That’s basically my favorite “store” to shop! Sometimes I feel like people are giving things away there (and sometimes they do!)!
Such a fun idea! And I’m impressed by how you creatively worked around wanting to keep the cabinet as-is without damaging it.
What would happen if you (non-irreversibly) took the doors off? Would the paper “pop” more / would it feel less china-cabinet-y? I’m sure IRL it’s easier to see and appreciate the objects through the doors, but through a lens it’s (as you pointed out) definitely preferable to not have the glass in the way.
Ohhh I LOVE that idea! I never thought about taking off the doors. I might go tackle that tonight and give it a shot! Thanks HB. 🙂
[…] so I had to make one. Thankfully my $1 foam board came to the rescue again (like it did for the china cabinet makeover). I just measured the inset on the back of the frame and cut it out of the foam board. I made sure […]
[…] Modernized the table and the China cabinet […]
[…] where I store items. The China closet is really the space of scrutiny this post. Remember when I spruced it up with some pretty paper in the back and nice […]
Brilliant, what a wonderful way to customise furniture. It really does look fabulous. Having customised furniture really does give your home a beautifully personalised look.
Thank you! I definitely agree that a personalized home is the best!
[…] them up as a child grew up into projects like this.] I had some extra paper scraps from the modernizing of the China cabinet. This just confirmed why I hold onto things, even scraps. I just wrapped them around the middle and […]
[…] large furniture loving, this china cabinet spoke to me as well. As you know, I’ve struggled with my china cabinet in the past (although I have a fun idea to update it soon) so it still surprises me when I am drawn […]
[…] us by our beautiful family. It’s the story of our china cabinet (see its history with us as I modernized it a little with the wrapping paper backed on foam boards and then organized the heck out of it). A china cabinet that isn’t something that I would have […]