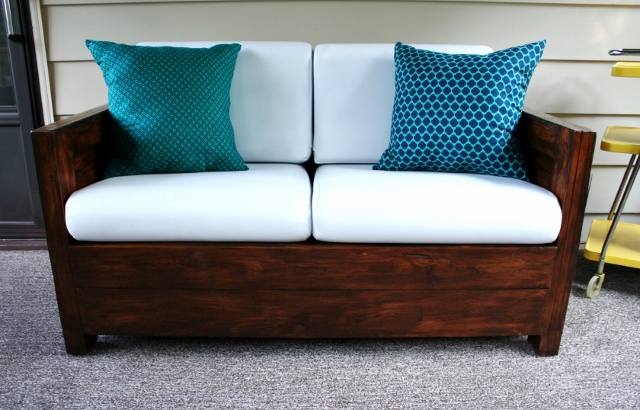
I am in a frenzy of pillow making apparently. I shared earlier how I made pillows stuffed with plastic grocery bags and styled them on the love seat.
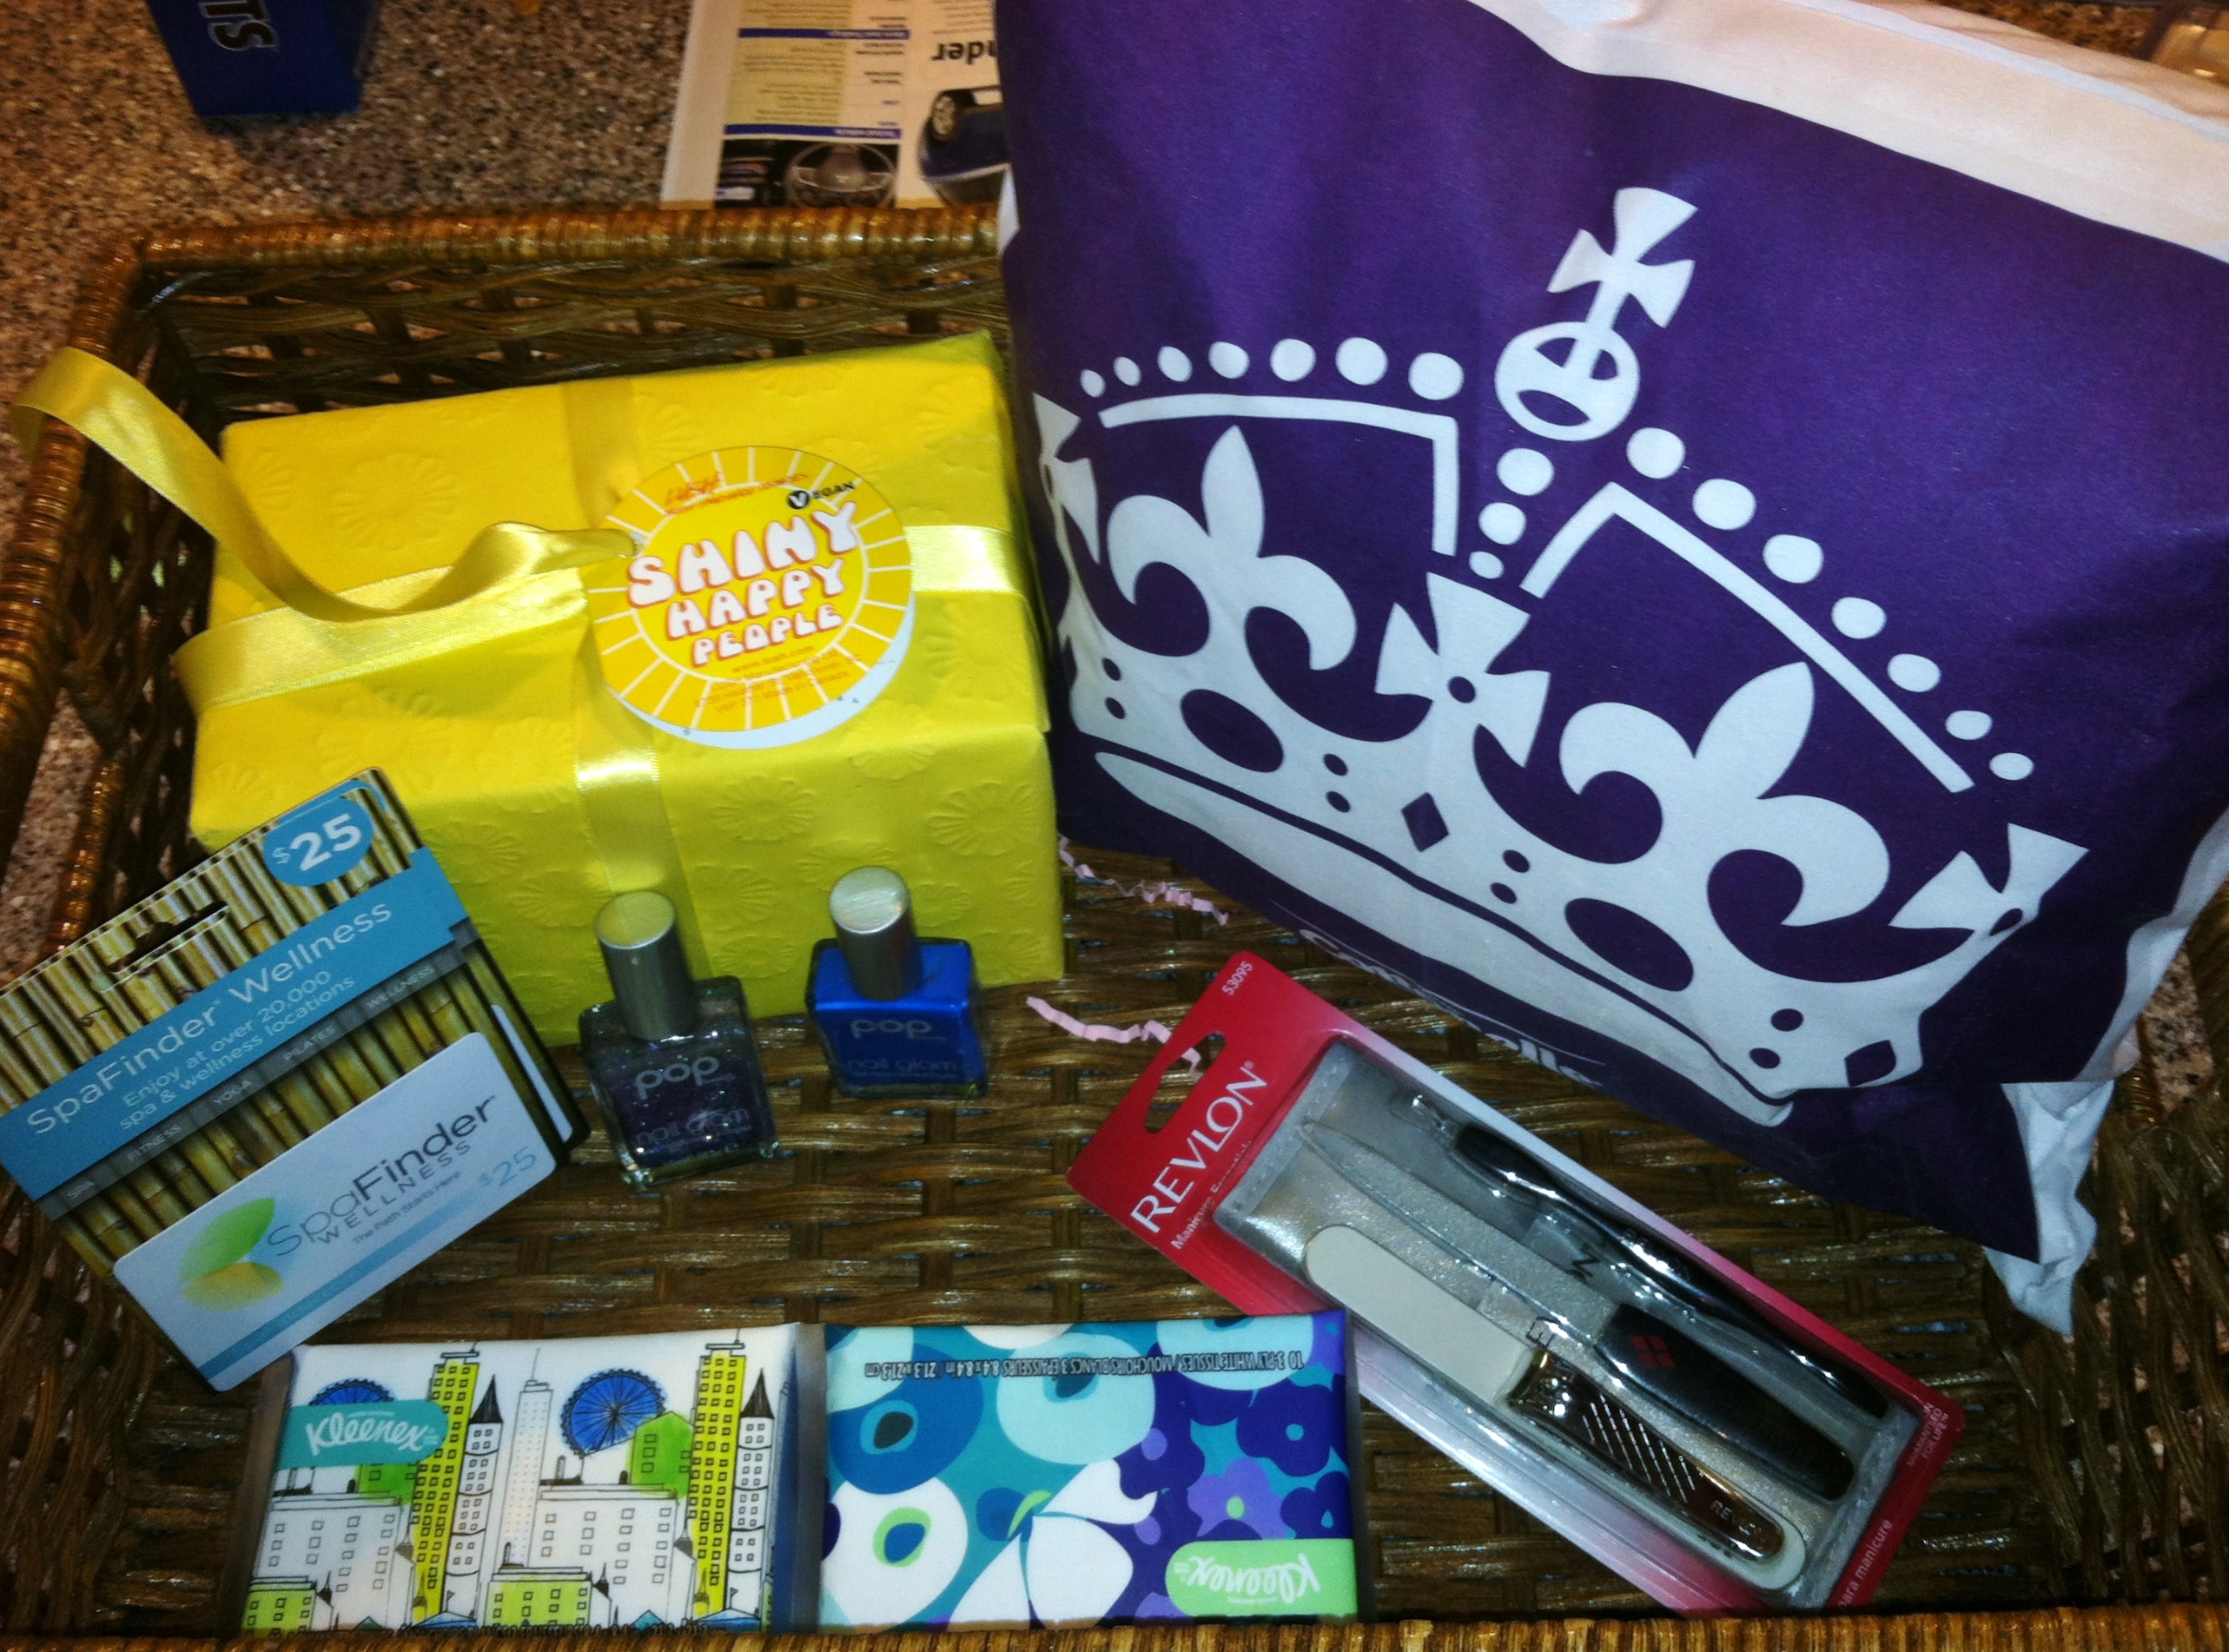
But it needed more, more! The answer came in basically free stuff again (YAY!). It started when I won a year’s worth of toilet paper. In the spa basket I got there was a delightful little pillow.
Bam. I knew it had a future home in the sun room. So I whipped off that cover and promptly sewed another one up, using leftover yellow fabric I had on hand.
The yellow was bright and fun (and went with my pre-planned color scheme) but I thought it could us a little livening up. Enter a free stencil I got at Haven from Royal Design Studio. It’s a cute little lace adorned bird.
Here’s how I stenciled the pillow:
Supplies
- Pillow case
- Stencil
- Stencil brush (I got mine at Michael’s in a big pack)
- Fabric Medium (Martha Stewart’s – also from Michael’s)
- Plastic bag
- Paint (acrylic or latex – I used the exterior latex paint I have left over from a project I will be sharing with you soon!)
- Tape
1. Place the plastic bag in between the two sides of the fabric. You don’t want any bleeding through!
2. Tape your stencil on the fabric so it doesn’t move around.
3. Mix up your paint. My fabric medium specified using one part fabric medium to every one part of paint.
4. Grab your stencil brush and get to dabbing. Make sure you keep a pretty small amount of paint on the brush. Too much and it bleeds (geesh, I should listen to myself more since mine bled just a little bit). I feel like I should have this method down since my mother was a professional stenciler when I was little. I remember she would sometimes bring me to client’s houses while she would stencil their walls (this was the 90s when it was all the rage to do borders). Hers would have layers and multiple colors that were just gorgeous. She really should be writing this post. Anyways, make sure you have a small amount on the brush and then just lightly pound the brush up and down on the stencil.
5. Once your area in the stencil is completely filled in you can immediately pull up your stencil. I’m all about these instant gratification projects!
6. Next, per my fabric medium’s instructions (haha, I just pictured a medium – like fortune teller – guiding me through this) I ironed the stencil to set it.
7. Then, stuff the pillow form in and stitch it up.
Now I have a fun pillow that is two sides – stenciled when I’m feel sassy and plain if I need it more relaxed. Gosh darn it, I love that pillows have two sides to play with. My goodness, is the love seat project over now? Well, it is until I feel the urge to change the pillows again or add a lovely throw…and you know that’s going to happen!
Sharing this post:


It adds the perfect touch of whimsy!
Thank you! I think it’s a sweet little touch!
Oh my goodness that is so stinkin’ cute! I would never have thought to do something like that!
Thank you!! The little bird makes my heart soar! 😉
I like the little birdie’s pop of color.. 🙂
Thanks! I am always looking for ways to bring in pops of color!
Creative! nice work.
Thanks! Every home needs a happy little bird!
[…] How to Stencil a Pillow (rappsodyinrooms.com) […]
You are on a roll! I love the stenciled pillow! so fun!
Wahoo for pillow making sprints! I worked so hard on making the love seat pretty it needed some bedazzling (as I see pillows as the bedazzling of furniture). Glad you like it!