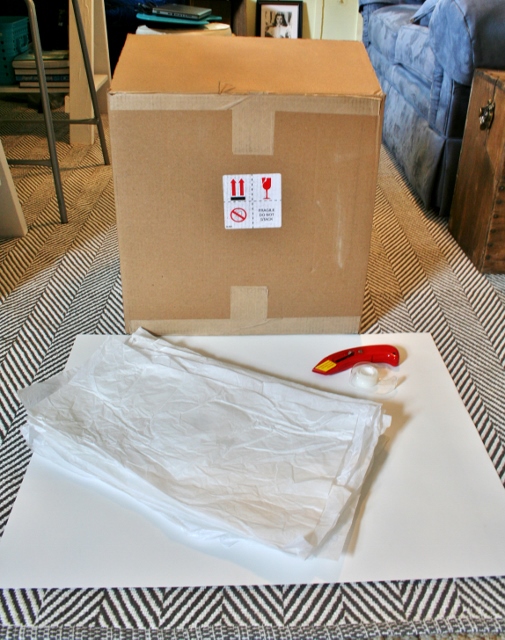
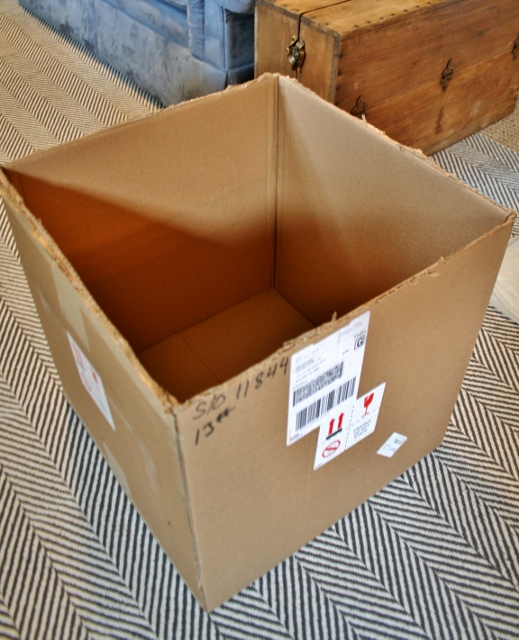
This is a project that I have just been itching to do. Not only will it help up the photography level on the blog (hopefully) but it was basically a free project, which is my favorite type of project. I found the idea to make a light box for photographing smaller, stand alone objects on Pinterest, of course. There are lots of different choices on how to go about this project, so I thought I would just link to the search results for you. This is how I did it.
DIY Light Box
Step one
Gather supplies. You will need a big cardboard box, white tissue paper, a white poster board, a box cutter, and clear tape.
Step Two
Using your box cutter cut off the box flaps.
Step Three
Now, cut giant square holes on three sides of the boxes.
Step Four
Cover the three hole-y sides of the box with the white tissue paper.
Step Five
Cut your poster board to fit in the box.
Step Six
Set the box up with lots of lighting around it and in a place with natural light (if possible)as well. I was doing this project in a time crunch so I wasn’t able to place all the lights around that I wanted, but imagine a lot of lights pointing at the three sides with the tissue paper.
Step Seven
Photograph away!
Check it out. This is an item that I photographed using fabric and surfaces I have around the house.
Now here it is in my light box.
I just love this portable light box for pictures! Now, I can use this box to make pieces stand out a bit more without befuddled backgrounds.This is a great project for almost no money! That’s a win!


