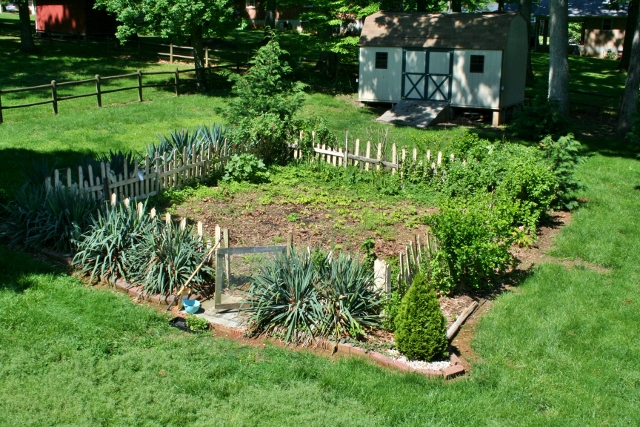
After quite a few torrential downpours and bursts of sunshine, everywhere we look green showering around us (quite different from the desert we were in last week). It was looking green everywhere except in the garden. Wah wah. Vacation got in the way along with an unseasonably cold spring, and here it was mid-May again without having the garden planted. I would just look across at our neighbor’s beautifully planted garden that is already sprouting (granted they are retired and it’s all they do) and shake my head. Oh well, not worth comparing yourself to. Anyways, you may have remembered my seriously lacking garden posts from last year: oh wait, there was only one. This year, I vow to give you garden updates and all the tips I learn while I master my brown thumb. Although it may have a tinge of green on it now. Hurray! Although you couldn’t tell by this weed ridden hot mess of a garden.
Here is my step-by-step gardening guide:
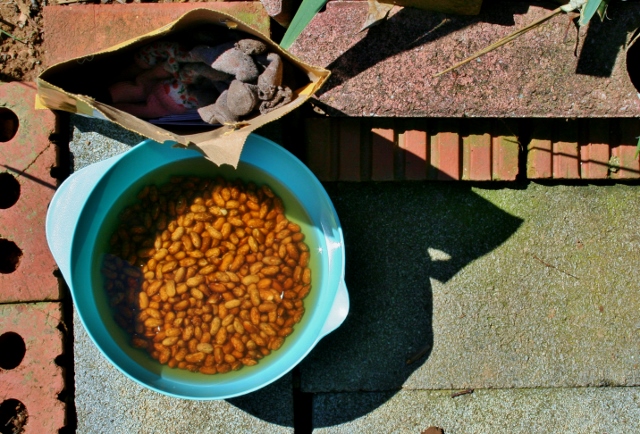
Step 1: Buy seeds. We order ours from a gardening catalog but you can always pick them up locally at any garden store. If you are planting beans, you will want to soak the seeds in water a day or two before you plant. I also buy plants instead of seeds for some plants, like peppers, eggplant, and some squash, since they take a long time to sprout.
Step 2: Pick a day to plant in early spring (or as early as you can) after all frost possibilities are over.
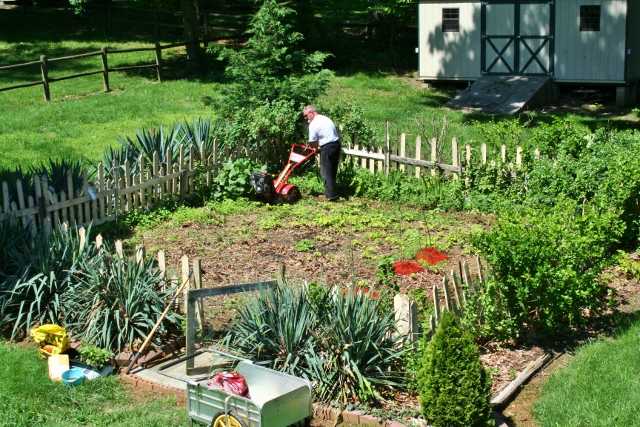
Step 3: Gather all your supplies. These are the ones we used.
- A rototiller. You can buy one, borrow one, or rent one from a home improvement store. We borrowed. Thank you neighbors!
- A metal rake
- A hoe…(the tool type, not the person – sorry, parents – inappropriateness over)
- Fertilizer (we use 10-10-10 and a bag of cow manure – eewww)
- Sunscreens for all you fair-skinned people out there like me. It’s a must.
Step 4: Till up the ground with the rototiller until it is really loose. You may have to go over it a few times. I recommend going up and down, then left to right. Rake up any loose stones and big weeds. I also recommend having a very strong and handy father-in-law who actually likes doing that!
Step 5: Plan out your garden. You may have to get a little strategic here. We put all the actual plants in first and grouped them. Then we did all the “mounding” seeds. Many types of vegetables require you to make mounds (mainly vine plants like cantaloupe, watermelon, cucumbers, squash, etc.). I like to put those around the perimeter so they can grow up on the fence and don’t get as entangled with your other plants. After those were put in, we filled in all the extra space with rows of beans.
Step 6: Fertilize. Sprinkle a thin layer on the plants. You will want to do this about once a month. Also, you will want to use a bug repellent about once a week. I am going to wait until the first time we water (in a couple of days since the ground was SO wet now) to put down the first bug repellent.
Step 7: Let Mother Nature take her course. Of course your job is to water (at least twice a week if it doesn’t rain), weed the garden, fertilize, and de-bug.
That’s it, my guide to gardening! Hope that makes it a little easier for you to tackle. I know when I first started it was quite intimidating but, just like anything else, if you break it down into steps, it becomes that much more manageable. Having a garden is totally worth the work! I had a huge amount of fresh veggies June through August last year, and I STILL haven’t finished all the frozen green beans I put away from the garden last year! Also, to keep you up-to-date with the garden and to share any tips along the way (as well as my bounty), I will try to do a monthly garden update post.
Are you doing any planting or gardening this year? I would love to hear your tips and tricks!


You have such a cute garden! Thanks for the tips! We just started planting ours – http://this-little-house-of-mine.blogspot.com/2013/05/planting-our-vegetable-garden.html
I’m hoping to actually be successful this year…harder than it seems sometimes! 🙂
Thanks Whitney! I checked out your garden post too. It looks great! It definitely is harder than it seems. I have set myself a watering schedule so I remember to keep those plants alive!
[…] through with my promise of actually doing garden updates this year. It all began when I first planted the garden and explained my method. Here is what it was looking like just […]
[…] last left you holding your breath about my garden progress after this just planted garden post and this post that brought us through week 4. Well here we are in week 9, and I can finally say […]