Wait…what were you thinking? We just sealed our driveway! No real seals living in the Rapp household or surroundings. Bummer. Eric and I both have a thing for animals, especially non-traditional domestic animals. Anyways, I digress. What I actually meant by the seal title was that we just sealed our driveway. Wonder how many hopeful people just clicked the “x” with their dreams of a seal post dying…
Sealing a driveway actually can be exciting. Dubious? Read on!
· Sealing a driveway extends the life of a driveway by a lot. Wanted to put in an actual number, but I would have just made it up. It does help though.
· They make products that will last you 8 years in between seals! Less work! Hurray!
· It makes your driveway look brand new, all shiny and black.
· Those mushrooms will stop growing under our driveway and making it crack. Anyone else out there have that problem?
· Seals will magically appear on your driveway! Okay, kidding again.
Since we have owned the house, we have not sealed the driveway, so it is definitely time. Here’s how we did it.
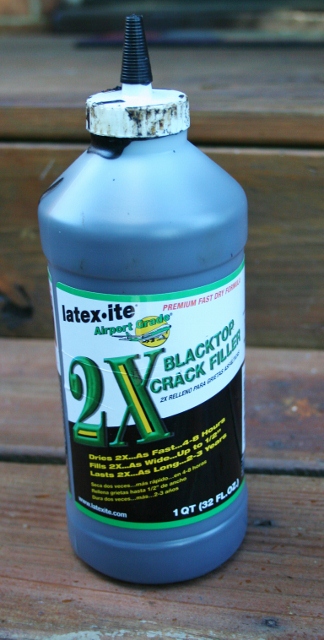
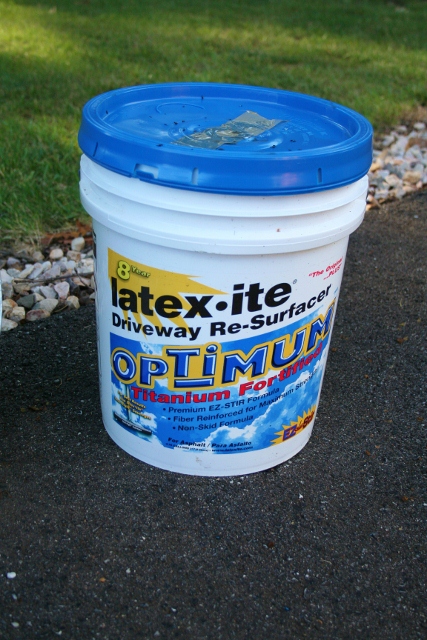
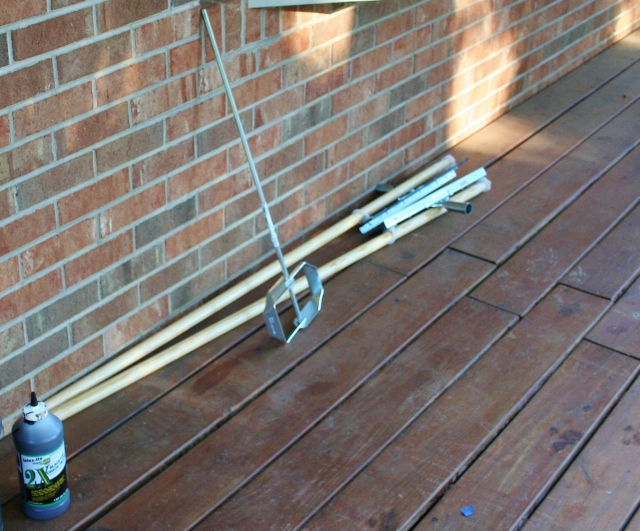
1. Gather all supplies. You need crack filler, many vats of seal (calculated by square footage – ours took 13), a heavy duty drill, a mixer tool, spatula things for spreading, a leaf blower or broom to clean off your driveway, and a husband and father in-law to do the work. Or just at least two people since it is definitely easier as a two person job.
2. A few days before you are going to seal, you want to use the crack filler to fill up those pesky little holes and cracks in the driveway. Just make sure you don’t accidentally walk in them. Tar is hard to get out of carpets. Just saying…
3. Clean off the driveway right before you want to start, unless of course you want acorns permanently in your driveway. We used our leaf blower, but I am sure a broom would work well. It would just take a little longer!
4. Pick a nice sunny day with at least three sunny days forecasted after it. Plan your method of attack so you aren’t stranded outside of your house. Our material took about an hour until it was dry enough to walk on. You either want a back way in or seal the front door path last. We chose the back door route.
5. Use the drill to mix one bucket at a time. We rented the drill and bought the mixer (it’s done once it is used). We poked a hole through the top of each bucket so we could thread the mixer through and put the top back on. This helped keep splatter down.
7. Use the empty buckets to corridor off your driveway so no one drives on it until it is completely dry. We let ours sits about 3-4 days.
There you go, a brand new looking driveway. I love how velvety smooth it looks. For some reason I just really had the urge to lie on it. It just looks so inviting. I refrained though…

Here’s a before and after:
As for the amount of time it takes, it really varies based on the size of your driveway. Ours took about 5ish hours to do from start to finish. A five hour job to protect something for eight whole years? I say that is time well spent! Oh, and just for all you hopefuls:


I needed to post you this little bit of word so as to give thanks again for your personal amazing ideas you’ve shown on this site. It was so extremely open-handed of people like you giving openly exactly what a number of us would’ve sold as an e-book to generate some dough on their own, especially now that you could have tried it in the event you decided. Those good ideas likewise acted to become good way to be certain that many people have the same zeal like my own to understand lots more concerning this matter. I’m sure there are a lot more enjoyable sessions in the future for many who examine your blog. Driveways
[…] Sealed the driveway […]
this is awesome, thanx for this info. I thought we were going to have to call someone to redo out driveway and all i really have to do is seal it. Again thanx a bunch. p.s. i luv your blog.
Hey Tammy! So glad that you are able to save your driveway through sealing it! That’s awesome! So glad this information was able to help!